Avanan adds a Smart Banner to an incoming email when detected as clean (not malicious or spam) but contains elements or characteristics that users should pay attention to. These banners help distinguish external, unverified, or potentially fraudulent emails, payroll update requests, invoices from new business partners, and so on.
Activating Smart Banners
Avanan adds a Smart Banner to an incoming email when:
- The incoming email is clean but contains elements or characteristics the recipient should consider.
- Threat detection policy applicable for the recipient is in Protect (Inline) protection mode and the clean emails are configured to deliver with Smart Banners. See Enforcing Smart Banners.
- Smart Banner applicable for the detected element or characteristic is enabled. See Enabling or Disabling a Smart Banner.
Attaching Smart Banners to Emails
- Create or edit an existing Threat Detection policy for Office 365 Mail or Gmail. See Threat Detection Policy for Incoming Emails.
- Set the policy protection mode to Protect (Inline).
- Scroll down to the Clean Emails section and for Clean Workflow, select Deliver with Smart Banners.
- Click Save.
- Smart Banners can only be added to HTML emails.
- For allow-listed emails, Smart Banners are not added.
- When more than one banner is applicable for an email, Avanan adds the banner with the highest severity. If there are multiple banners with the same severity, the one with the highest priority is added. For information about the priority of the banners, see Supported Smart Banners.
Enabling or Disabling a Smart Banner
- Go to User Interaction > Smart Banners.
- Toggle the button On/Off to the left of the required banner.
- Click Save and Apply.
Automatically Enabling New Smart Banners
Avanan periodically introduces new banners for additional elements and characteristics. To enable these banners automatically:
- Go to User Interaction > Smart Banners.
- Click Settings next to Smart Banners from the top of the page.
Smart Banners Config pop-up appears.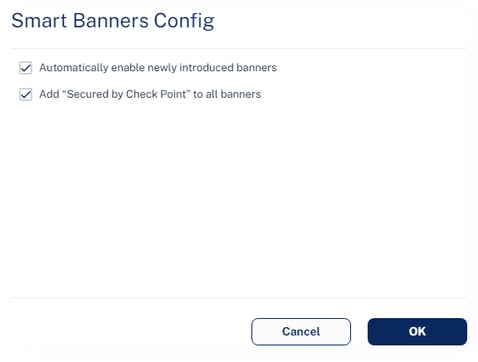
- Enable the Automatically enable newly introduced banners checkbox.
- Click OK.
Customizing Smart Banners
To customize a Smart Banner:
- Go to User Interaction > Smart Banners.
- Click on the banner.
The banner's preview appears. - Click the
 icon on the banner.
 - To change the color of the banner, select a color from the dropdown.
- Make the required changes to the text.
- Click Save and Apply.
Note - The color of a banner does not indicate its severity. The AI security engine determines the severity.
To remove the Secured by Avanan footer:
- Go to User Interaction > Smart Banners.
- Click Settings next to Smart Banners from the top of the page.
Smart Banners Config pop-up appears.
- Clear the Add "Secured by Avanan" to all banners checkbox.
- Click OK.
Supported Smart Banners
Avanan supports these Smart Banners:
| Category | Smart Banner Name | Description | Default Severity | Priority | Is enabled by default? |
| Business email compromise |
Sender resembles a real contact | Email from a sender that resembles but is not identical to a contact the recipient is corresponding with. | High | 1 | Yes |
| Request to update payment details | Email that resembles a request from vendors to change their payment details. | High | 2 | Yes | |
| Invoice from a new vendor | Email with an invoice from a vendor that never contacted before. | Medium | 21 | Yes | |
| Payroll information update request | Emails from external senders requesting to update their payroll information. | Low | 41 | Yes | |
| Financial transaction requests |
Emails with Invoices / POs | Email that contains a request for payment in the form of invoice or purchase order. | Low | 42 | Yes |
| Payment request via payment service | Email that contains a payment request received via accounts in payment services. | Low | 43 | Yes | |
| Avoiding inspection | Emails with links to restricted resources | Email with links to resources with restricted access, possibly in order to avoid inspection. | Low | 45 | Yes |
| Fundamentals |
Sender name different than address | Email from sender with a name that is significantly different from the email address which may indicate an impersonation attempt. | High | 3 | Yes |
| Reply-to domain recently created and its address is different than the sender’s | Email with reply-to address different from sender address and whose reply-to domain is created recently. | High | 4 | Yes | |
| Sender domain created recently | Email whose sender domain was created recently. | Medium | 21 | Yes | |
| Sender SPF failed | Email that failed SPF checks. | Medium | 23 | No | |
| Incoming emails from external senders | Email from an external sender (outside the organization). | Information (blue) | 81 | No | |
| Impersonation | First-time sender | Email from a sender that never sent an email to the recipient before. | Low | 44 | No |