Configuring Email Notifications and Banners
To configure email notifications:
- Go to Security Settings > SaaS Applications.
- Select the required email service (Office 365 Mail or Gmail).
- Click Advanced and select the template.
- Configure the template as required.
Request / Report Type
Template Name
Rejected quarantine restore request Decline message subject Decline message body Declined Phishing report Report Phishing decline subject Report Phishing decline body Approved Phishing report Report Phishing approve subject
Report Phishing approve body
For more information about the supported placeholders, see Notification and Template Banners - Placeholders.
- Click Save.
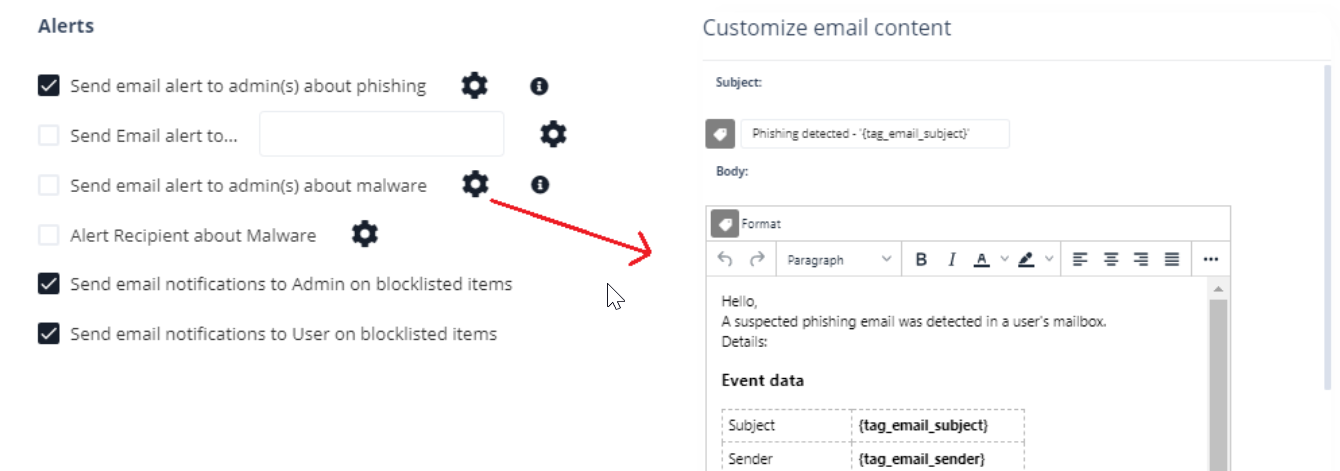
Administrators can also configure the notifications and banners per policy. To configure them, click the cog icon next to the workflow and make the required changes.
Sending Email Notifications to End Users
Avanan allows to send email notifications to end users for these actions:
- Rejected quarantine restore requests
- Approved phishing reports
- Rejected phishing reports
To enable Avanan to send email notifications to end users:
- Go to Security Settings > User Interaction > Restore Requests.
- In the Restore Request Feedback section, select the Send feedback email to end users when approving/declining their quaratine restore requests checkbox.

- To configure the sender email address for notifications:
- Friendly-From name
- To use a customized name, select Custom and enter the sender name.
- If no friendly-from name is required, select None.
- From address
- To use the default email address, select Default. The default email address is no-reply@checkpoint.com.
- To use a custom email address, select Custom and enter the email address.
- Reply-to address
- To use From address as the Reply-to address, select Same as From address.
- To use a custom email address, select Custom and enter the email address.
Note - If you use custom email address:- The domain must be one of the domains included in your organization's Microsoft / Google account.
-
You must add the Avanan include statement to the domain's DNS. The custom address won't take affect until the include statement is available in your organization's DNS.
- Friendly-From name
-
Click Save and Apply.
To send email notifications for approved and declined phishing reports:
- Go to Security Settings > User Interaction > Phishing Reports.
- In the User-Reported Phishing Emails section, select the Notify users when their reports are approved/declined checkbox.

- To change the notification message, click the gear icon next to the checkbox and make the required changes.
- Click Save and Apply.